Page 1 of 2

Dave's Prado 120

Posted: April 15th, 2013, 1:05 am
by Dave
I've finally gotten around to creating a post.

Here is a list of mods or upgrades so far from the standard Toyota 120.

Had the pros install :
  • 1) Steel Bullbar (TJM T13).
    2) 9000lb dyneema Winch.
    3) Under body protection to beyond the transfer case, now with extra heavy duty front bash plate.
    4) 2" suspension lift.
    5) Rear diff locker.
    6) MTZ 32" mud tyres.
    7) CoupleTech rust prevention system.
    8) Custom made "front rated recovery points"
    9) Rock Slider side steps, and steel bar protection for rear bumper
    10) Front e-locker
    11) Under bonnet heavy duty air compressor and 5 litre air tank.
Self installed the following :
  • a) Spotlights with cheap 100W HID conversation kit installed afterwards (equivalent to 600W halogen).
    b) 220cm Roof Platform (Platform, not cage - so that I can still park the car in the garage).
    c) GME 80 channel UHF.
    d) Dual Battery System - AGM 100AHr, with 20Amp DC-DC charger.
    e) Digital Volt-meters for each battery (ebay special)
    f) 4 x Internal cig sockets to aux battery, 1 x internal Anderson socket, 1 x external Anderson socket
    g) 200Amp (400Amp over 20 secs) manually switch controlled relay to common batteries (2 batteries in parallel for winching or rapid charging).
    h) 2 x Rear cameras (so as not to run over the kids), 1 x underbody camera, and 1 x front camera (can now see what is directly in front of the bulbar).
    I) LED Dome lights and rear LED strips for internal lighting
    j) Winch isolator switch, Internal Winch control switch and remote winch controller.
    k) Diff, Transfer case and Transmission breathers.
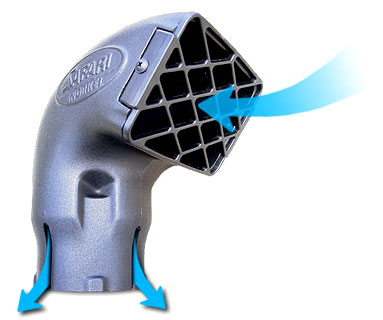
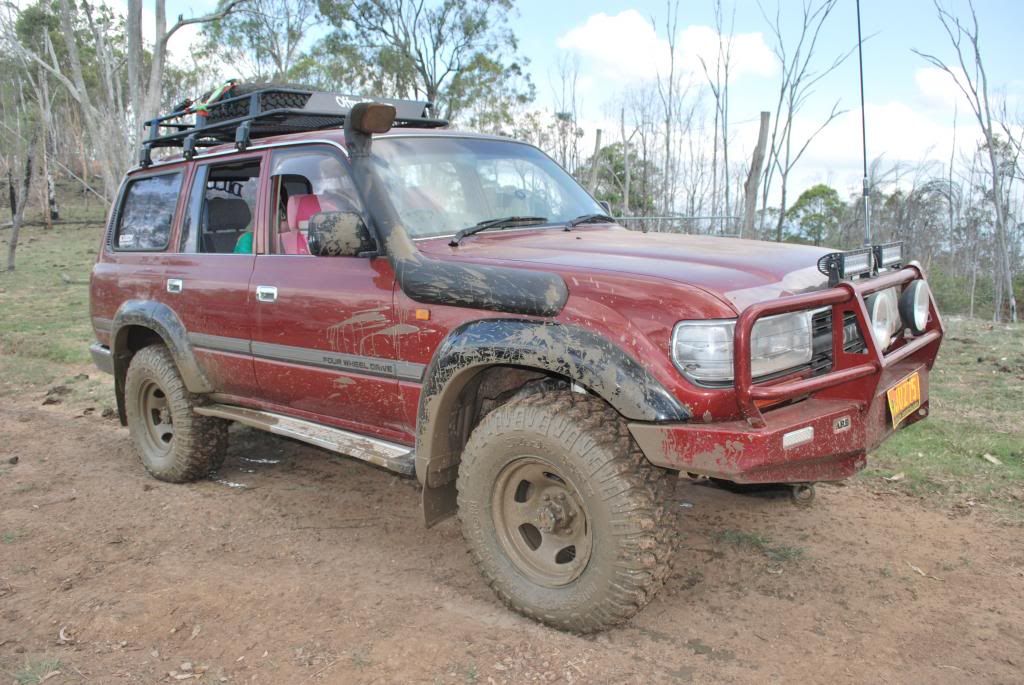
    l) Safari Snorkel.
    M) 600w pure sinewave Inverter wired to 240V power sockets. Gets 50A feed directly from the battery, with an option of riding the 12v source, i.e. from aux battery even when keys are removed.
    n) Laser etched switches for lockers, compressor, and future external water pump.
    o) Fold-out table on rear swing-open door
    p) Trailer plug in bumper-bar, instead of being underneath where it can be ripped off when 4WDing.
Planned upgrades:
  • Power to roof platform, and external water pump (to hose down the kids sandy feet or muddy shoes.

Re: Dave's Prado 120

Posted: April 15th, 2013, 1:08 am
by Dave
L) - Snorkel Install.

Here are a few photos from the snorkel install. The guideline said to allow 2 hours to complete the install. But it took closer to 8 hours due to a number of issues.

Photo once the plastic guard under the wheel arch was removed. Removing the plastic one-way clips took nearly 2 hours alone. You can see the factory-standard air intake on the right.
Image

Next was to remove the air intake pipe. Not the 30 secs as per the guideline due to the dual battery installation and the installation of my extra electronics. Had to remove it all. There are two screws under all that.
Image

The dust catcher and water drainage unit was not in the best condition. So I sealed it with silicon to make it water tight. Right the end I discovered it was a big mistake. If it rains and water comes into the snorkel, the water is not expelled at the head unit. Instead it will slowly fill the snorkel. I'll have to get a replacement rubber seal.
Image

Next the template was taped on. Instructions were "Tape template to front right-hand panel".
Image

After checking the measurements 15 times, and taking a big breathe, I started drilling. The instructions specified 16mm bolt holes, but since they were only M10 size, I drilled 11mm holes. I ensured my holes aligned perfectly, so 11mm should be ok.
Image

Next I checked the snorkel to see if it all fits .... and it didn't!!!!!!!!!!. I couldn't believe I was so far out. Checking the template on the snorkel, I was surprised to see the template didn't fully line up with the bolts. (Naughty of Safari ... made in Melbourne :roll: )
Image

After elongating the holes, I then discovered that when they specified a 95mm hole for the air-take, 94.5mm would be too small, and the 92mm hole saw that I kindly borrowed from Ben saw too small to push on the rubber collar onto the snorkel and then push back through the hole. So a manual expansion of the hole to 95.0mm was needed.
But eventually the snorkel extension tube was fitted with the rubber collars installed. The other side was a struggle too, but eventually got them on.
Image

Next it was time to bolt on the snorkel. Another fun activity because Safari didn't think about the internal structure. Getting the 5 nuts onto snorkel where finger tips can only just reach and where there isn't enough to space to get the washer and nut over the bolt was another 1 hour exercise.
Image

After completing the installation of the snorkel and reinstalling the electronics and Aux battery, the job was complete. And only when I installed the snorkel head I discovered it wouldn't expel rain water. So I'll have to remove the Aux battery, and replace the rubber "drainage seal" in the near future.
Image

Re: Dave's Prado 120

Posted: April 15th, 2013, 7:45 am
by Capella_Ben
Good job! they are a fun piece of kit to install aren't they.

I believe that the snorkel head is supposed to expel water.

Image

When on the move it should throw the heaver water against the back where it drains out the slits. You'll notice that the head narrows down to where it joins to the main body of the snorkel. Never had any water get in on mine.

Re: Dave's Prado 120

Posted: April 15th, 2013, 7:46 am
by Capella_Ben
and where is the photo of these world famous recovery points? :)

Re: Dave's Prado 120

Posted: April 15th, 2013, 8:36 pm
by Dilligaf
Great work on the snorkel install, I'm thinking the 16mm holes are for somewhere around here a bolt goes threw,
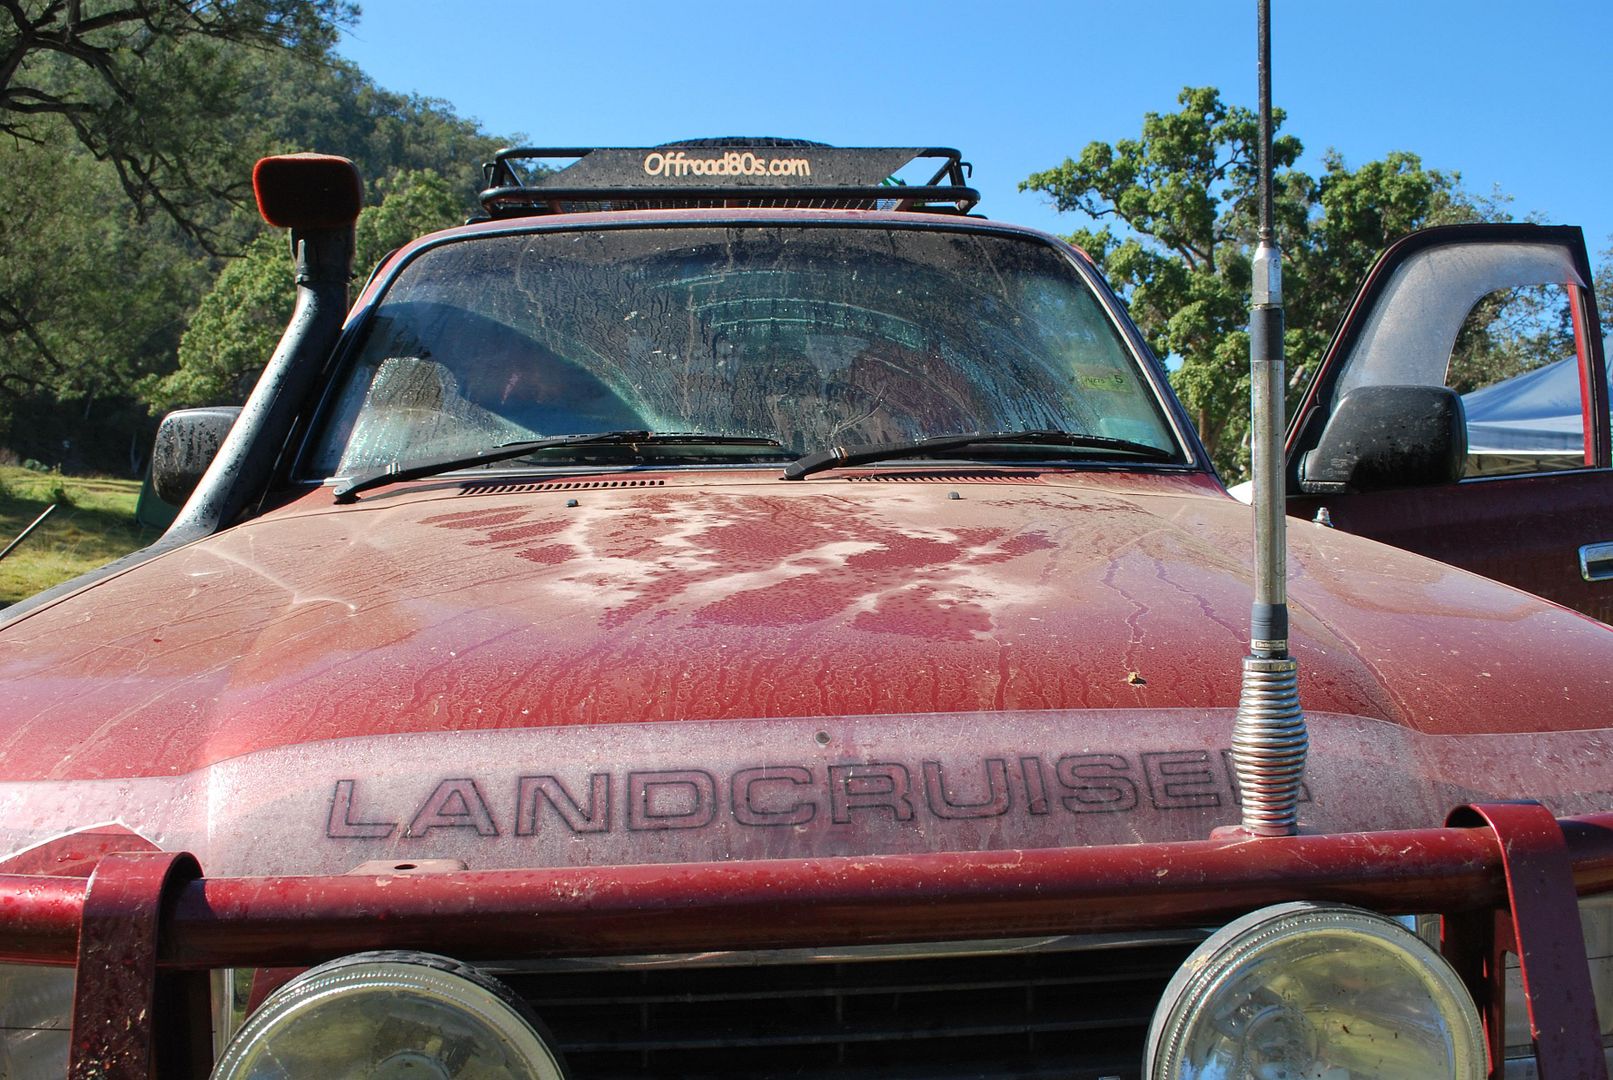
I run Uni Filter ram head covers on my cruiser as she sits out in the weather all the time, as you can see from the pics just how much dust and crap from going into the air cleaner, Specially when travelling in groups my air cleaner also stays cleaner longer, as i usually take a couple with me on every trip, so that it doesnt get to restricted.

So how long did it take to drill the 95mm hole, i think it took me nearly an hour to get the courage up and after that it was like that wasnt hard, 2 hours later i stopped shaking

Image

Image

This link is for the filters, you can get them from most 4x4 shops also prices range from $14- $25, i get mine from a local Aircleaner mob who always have them on the shelf
http://www.ebay.com.au/itm/UNI-FILTER-S ... 400wt_1163

Re: Dave's Prado 120

Posted: April 16th, 2013, 2:02 am
by Dave
Well, the 95mm (02mm) hole only 3 minutes to cut, and just prior to that, around 30 minutes of a mild panic attack .... have I measured it all correctly, is the template straight, etc.

I've seen the filters before. But I need to change the paintwork on my vehicle to red like yours. It's so that the colour matches. :lol:

I ordered a genuine Toyota "dust relieve value". It's almost twice the cost of the US version, but at $9.80AUD, it's cheap insurance. It looked like the previous owner's dog chewed on the end of the existing value. It wasn't in good condition.


I'll take some photos of the other "add-ons" as soon as I get my car back. It's getting steel side-steps/rock sliders put on, and is due back Friday (maybe). I hope it's back before Anzac day next week at least.

Re: Dave's Prado 120

Posted: April 17th, 2013, 1:20 am
by Dave
Well, I have the genuine replacement "Dust Relief Value" from Toyota. Probably a good thing that's isn't being replaced.

Compare the difference below.
Image

And yes - rock sliders delayed again. Maybe in another 2 weeks time (just after Landcruiser Mountain Park trip :cry: )

Re: Dave's Prado 120

Posted: May 19th, 2013, 12:03 am
by Dave
8) - Rated Front Recovery Point.

I've been pulling a lot of cars bogged in soft sand using snatch straps. And it would just be a matter of time before the welded tow points give way. And due to the under-body-protection plates, I couldn't install off-the-shelf recovery points.

The photo below shows the custom made (by a professional) recovery points rated to around 4.5tonnes (just short of 4.7T).

Image

Re: Dave's Prado 120

Posted: May 19th, 2013, 12:20 am
by Dave
9) - Rock Sliders and Rear Bar protection

The aluminium side steps have been replaced with steel versions. Also custom built, they are far stronger than off-the-shelf versions, but still only cost around the same amount.

Image

Image

Some stronger than average points that attach to the chassis rails. The problem was that the second fuel tank was blocking access to the other side of the brackets. Even a single nut would not fit in the space. So some very strong points were welded up.
Image

Rear bumper bar protection.Some 8mm plate steel with steel strengthening bars welded on top was installed just under the rear plastic bumper. Now I can get through those sharp "V" gullies (just keep up the speed and slide/scrap through).
Image

View from the top. Not that easy to see (which is good).
Image

Though I now looking to install the trailer plug and Anderson plug through the plastic of the bumper bar. That should be an interesting job. :roll:

Re: Dave's Prado 120

Posted: May 19th, 2013, 8:19 am
by Capella_Ben
They may have taken a while to build, but the end result looks really good! :thumbup: